Next, we need to add a new block. You should already know that there are two ways you can do this. Either click on a green plus sign (

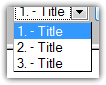
) on the block, or click the "add" button in the top-right corner of EZ-PageBuilder. When asked for the type of block, choose "layout manager." You can put your new block wherever you like, but in my case I will choose to add it after block #1, then click "Next Step." At this point you will be required to configure your new layout manager block. For now, we are only concerned with one setting. At the very top you'll see the following option:
Layout style determines the orientation of the blocks located inside of the layout manager block. If the rows option is selected, the blocks inside of the layout manager will be stacked one on top of the other. If the columns option is selected, the blocks will be displayed from left to right.
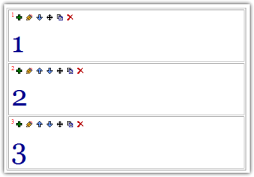
For now, let's choose "Columns" for our layout style. Then scroll down, and hit "submit" to complete the configuration and create the block. You'll now see a new block in EZ-PageBuilder, but it will be empty. This is our layout manager block
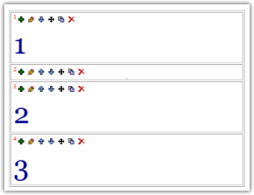
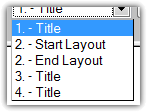
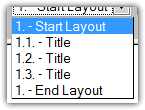
Notice also that in the page outline above, the layout manager block is listed twice. It has a start layout and an end layout. Any blocks in between "2. - Start layout" and "2. - End Layout" will be contained inside of the layout manager. Right now, there's nothing in between them so the block is empty.
Now we need to move our content blocks into the layout manager block so that we can control the way they are displayed. We simply have to get those blocks in between the start layout and the end layout. There are a number of ways to do this. The first is to use the move icon (

). When you click on that, you'll see an outline of the blocks on the page. You can either select "after" and "start layout" or select "before" and "end layout." Then click move. This will place that block inside of the layout manager. Another way is to use the up arrow (

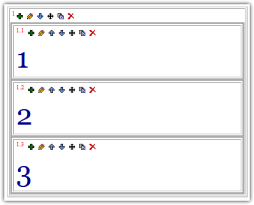
) and down arrow (

) on blocks that are adjacent to the layout manager block. If a block is above or to the left of the layout manager block, click the down arrow to move it into the layout manager. Likewise, if it is below or to the right of the layout manager, hit the up arrow to move it in. Move all your blocks into the layout manager and it should look something like this: